
So there is a ridge formed where the secondary section of roof slopes down, and there is an overhanging eve with a slot between it and the lower roof. The "specialness" is that there is a ridge and a flat roof in the same place, and therefore the need to accommodate both.
Viewed from below, you can see that the shingles continue up under the eve, but they have to continue over the top of the virtual ridge to prevent water from getting in from the side.

So the shingles fold over the ridge, and then the other shingles on the main roof have to just cover all of that, as if there was no ridge.

The ridge nevertheless still needs its special shingles that cap the top. So another layer. Where the ridge is open, it gets the special, thick, multi-layer cap shingles. These are too thick to continue into the slot, so I just used regular shingles cut to size to cover the ridge inside the slot. Hmmm.

And then continue to shingle the main roof as if the slot was not there. Should work :-)

Moving right along . . . I mentioned last time that the space over the cathedral ceiling did not have enough insulation, or rather, that the whole attic had too little and that I added a LOT except where there was no access. This was on the south side of the house, under the section of roof that I was doing next. I therefore pulled up a couple of sheets of plywood over that area to see what was there. And as expected, there was only about 5" of insulation — way too little for an attic, especially under a south-facing roof in Southern California's hot sun.

But at least I could now add more; there was access.

The next step was to strip the roof of all the old shingles and roofing paper. It was a mess.

But was not too difficult to remove. Over the side of the roof I threw it, where it would sit until I could clean it up later. After that was gone, I set about to remove two rows of plywood, one nail at a time. Didn't take too long (compared to the geological history of the planet). Then, just a matter of stuffing in 6" more insulation, giving a total of about 11". I installed 1.5" of foil-faced styrofoam close to the eves where a full bat would not fit. About all I could do, but it will be a big improvement.

Then nail the plywood back on. Clean slate.

Because there were no complications for this part of the roof (for example, the porch gable roof on the north side), I trimmed the excess overhanging wood at the edge, applied roofing felt to the whole section, then drip edge, then the shingle starter course, and then began nailing shingles. Almost organized.

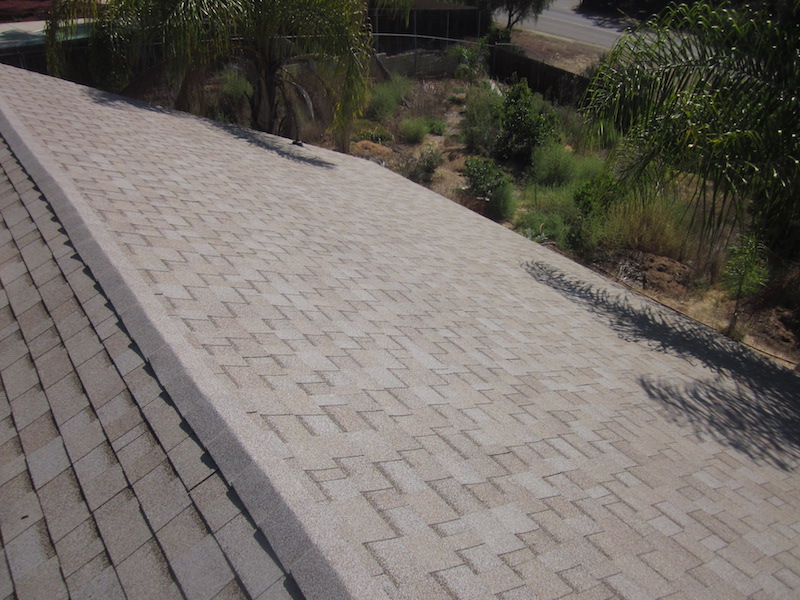
Faster this time. Less cutting (until I reached the ridge, but by then the end was in sight :-).
Such a feeling! With rain forecast in just a few days (well, 50% chance of showers — first rainfall in six months). This south roof is big and empty, and should provide ample room for more than enough solar panels to go off the grid, but that's for the future.
Also for the future, is the garage extension. Next spring. And because of that, the garage roof will have to wait until then. Here is the comparison. New versus old.

Nice! (and it only took how long?)

Up next? 1. Clean up the roofing mess. 2. Likely, build the new printer credenza for my desk, and maybe the stand/cabinet for the living room TV center channel speaker, receiver, and blu-ray player. 3. Definitely more drawers! 4. And begin planning for the garage extension, expected to be another long-running project.
No end in sight.
No comments:
Post a Comment