Every place I've ever lived has been designed for that "average American family," with lots of bedrooms, living room, dining room, family room, etc. The problem was that I was a single person, not an average family. I needed space, but for hobbies, not people. And because I'm over 6'2", bending over to use sinks designed for children was a constant frustration. Over the years, I collected a list of things I would change if I could have my dream house. As I approached retirement, I realized time was running out for that house; it was now or never.


Dreams are not always perfect, however. I could never afford my dream house, a spacious Southern California home overlooking the Pacific Ocean. But I could afford a modest ranch house, with a 20-mile drive to the beach. It was a very long way from perfect, but it had potential.


This blog documents the process of turning that small average house into something that matches my lifestyle. It will be as close to my dream house as I can make it. I'm doing all the work myself to stretch my resources. By not hiring contractors, I can afford high quality materials, and I'll know the job is always done right. The remodeling will be my primary avocation for a few years, even as I try to fit in my writing and other hobbies.


It promises to be an interesting journey, and a challenging one!

Wednesday, January 23, 2019

Guest Bathroom — Part 5

Part 5?  When was there a Part 4?  Long time ago: June 2016.  Since then, I've been using the gutted guest bathroom for storage, and have had to find other places to put all that stuff in order to continue bathroom work.   The link for Part 4 — is here.

This is the photo showing the state of the guest bathroom at the end of Part 4:


The open shelf unit in the photo is just sitting there, not fastened to the wall.  I removed it to paint it, then returned it and screwed it to the wall and base.  The wires dangling down at the left of the shelf unit are for light switches and electrical receptacles.  Obviously they needed to be enclosed, so I added a piece of half-inch plywood flush with the right side of the vanity cabinet.

Also in the photo below, I've added cherry edging to the front edges of the vanity, covering the plywood.


There are two receptacles: 1) one on the right side of the vanity for plugging in all those small appliances people use at the sink, and 2) another one inside the lower vanity, behind the future doors, which will be used for a plug-in power supply (wall wart) for low-voltage electricity for the LED light strip that will run around the future mirror.  Power to that receptacle is controlled by a switch just above the vanity receptacle (which of course will then simply turn on the mirror lighting).  There is one more light switch on the front of that electrical channel for the overhead light; that switch is a motion-sensing and dimming switch, so when you walk into the bathroom, the light comes on, and when you leave the light goes off.  If you're in the bathroom and stay very still, the light shuts off, leaving you in the dark.

Moving right along.  In the photo below, I've added cherry to the edges of the open shelving, as well as as a wide piece on the front of the electrical channel.  Before putting the cherry on that, I reinforced the channel by screwing in blocks of wood between the plywood on either side of the electrical channel.


Here's a closer look at the electrical switches and vanity receptacle.  The pink nylon string running into the hole is so I can pull the wall wart wire up from the inside of the vanity. 


Next, I need to find a white acrylic vanity top with an integral sink.  I can get a Corian brand one online for something in excess of $600 that may only rarely see use.  Hmm, no thanks.  Home Depot used to sell generic vanity tops to spec; not apparent that they still do, but that's something I need to check.  Then hook up the plumbing.  Then buy and mount a mirror and install the LED strip lighting.  Then of course there are the four tiny drawers and the two doors for the front of the vanity, but considering I still haven't built the door for the front of the master bathroom vanity . . .

I can order the bathtub and drain any time, but by now I've figured out I shouldn't do that until I'm ready to install it.  That could be Part 7.  😮

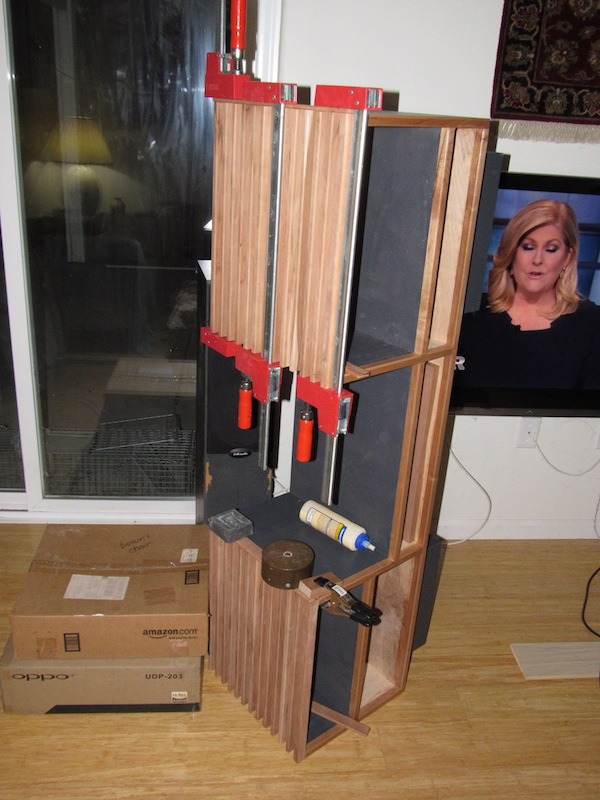
I've started building a set of nine more drawers — all solid wood dovetail drawers, including six of the half-blind variety.  Might these be the subject of my next post?  Hard to say.

There are other things I need to do on the house and yard.  I mean, not things worthy of a post.  Painting stucco.  Scraping and painting trim.  Extending my retaining wall (after five years of procrastination 🙂 ).  Yard work, including transplanting palm and banana trees.  I often feel reluctant to do this sort of work because it causes big gaps in blog posting.  But so be it.  I may throw in a photo.  I may do a blog on making a key lime cheesecake.  Who knows?  Not me. 

And I need to adopt another dog. 

Sunday, January 13, 2019

TV Console

The flat-panel TV in my living room is mounted on the wall, so the console is not needed to hold the TV, but I've had no place to put the peripherals.  To wit, the A/V receiver, the center-channel speaker, and a blu-ray player.  I've been listening to the sound via the TV's speakers, which is fine for the news, etc., but audio for prime time programming would be enhanced with a separate sound system.  Also, while I will continue to watch movies in my home theater, I may do some casual blu-ray viewing in the living room.  What I have been looking forward to, though, is using the blu-ray player and A/V receiver for music.  Until now, music in the living room has come from my computer speakers.

The first step in building the TV console was designing it.  The bottom of the TV is about 22" off the floor, which is one constraint.  The center-channel speaker had to be placed just below the center of the TV, and because of its size, there was no space below it for either the blu-ray player or the receiver.  I wanted those two components to be as high as possible for easy accessibility, but did not want them to sit on top of a shelf — they should be inside the console, for aesthetic reasons.  Those two criteria conflicted, so a compromise was needed.

Because everything has a remote control, the need to have those components up high was lessened.  I still had to put discs into the player, and likely put memory sticks into the receiver.  So put them just below a top shelf that was close to the bottom of the TV.  Receivers get hot, and that heat must be vented, so there had to be free space above the receiver.  The blu-ray player doesn't generate a lot of heat, so cooling for that was not critical, but clearly there would not be enough vertical space to put both receiver and player on top of each other.  Which led to the decision to put those components on either side of the center channel speaker.  That left room for drawers below.

So measure the components and draw the design and cut out the 3/4" plywood for the carcass.  Tongue and groove joints, glue, screws, and biscuits for alignment and strength.


I used solid cherry for the trim to cover the plywood edges, and painted the exterior panels a dark blue (same as the credenza), and black for the interior.


At this stage, I moved the console from the garage to the living room, where I assembled and attached the two bases and applied a clear satin polyurethane to the cherry.


You can see there are three bays.  The bay for the center channel speaker will have no top.  The tops for the blu-ray player and receiver were designed to be far enough above those components for adequate cooling, so they could be solid, but I decided to use grates for the tops to permit the hot air to easily flow up.  I decided on half-inch thick cherry slats standing on edge (1" high), and separated by 3/4".  I milled pieces of cherry to carry those slats, with shallow 1/2" slots cut to hold the slats in place while gluing.  The slots would also ensure even spacing.  Forgot to take photos.  😕

I covered the ends of the slats with thin cherry strips (glued on).


So this is what it looks like:


Another view below.  While you apparently see three drawers along the bottom of the piece, these are just the fronts of future drawers.  Like the last drawer in the credenza, these are dovetail drawers waiting to be built, along with a few more for the pottery studio, kitchen, and master bathroom.  Half of these (including the three TV console drawers) will use half-blind dovetail joints, and for all of these I need to set up my dovetail jig and build a bunch of them (for efficiency).


Up Next

Last time I said I was starting on half of the guest bathroom.  Well, I'm still going to do that, but I'm also adding in the other half as well — to wit, the deep soaking bathtub.  Which means I'll also be doing the tile floor and the tile walls, the drain plumbing for the bathtub, and the plumbing for the tub fill and shower valve, etc., in addition to the vanity sink and its plumbing.  I have pretty much decided on an American Standard reinforced acrylic tub that I can order from Home Depot, but have yet to find a source for the sink.  This project will likely carry through the whole winter.  Sigh.

On a very sad note, my young Australian Shepherd has died.  He was just 2 and a half years old.  He had epilepsy, and had been having seizures for the last year, which typically lasted about a minute, followed by a complete recovery within another few minutes.  But last week a persistent electrical storm ravaged his brain, from which he could not survive.  I  sorely miss him.