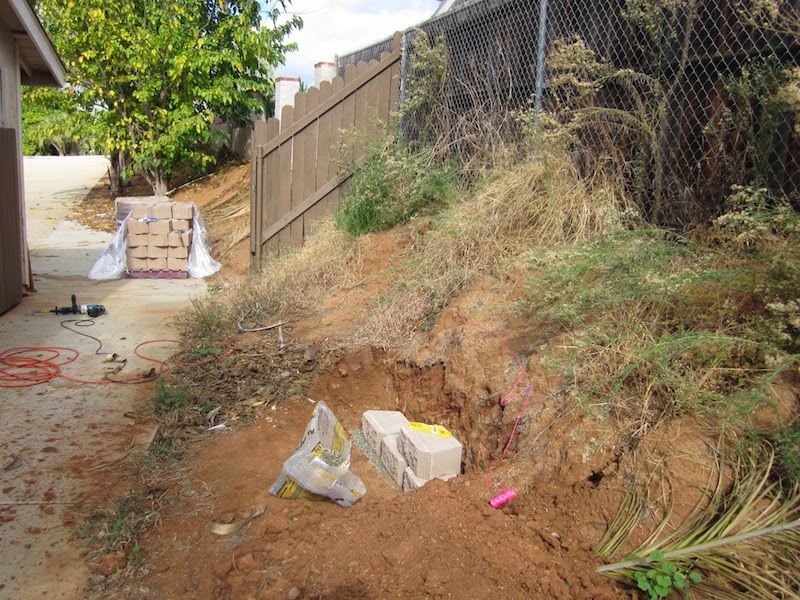
One of the first problems I noted with the house was that the embankment separating my house from my neighbor's was eroding away. I didn't know if the next winter's rains would undermine the wall and fence separating our houses, but the consequences of that happening would be dramatic enough that postponing action seemed too risky.

So in November, I ordered a couple of pallets of 16" retaining wall blocks (90 blocks), enough for a good start, but not nearly enough for the whole wall.

The TV home shows stressed the importance of good drainage to prevent freeze/thaw upset: a gravel bed under the wall, gravel behind the wall, and a garden fabric behind the gravel to prevent soil blocking the gravel. That said, it never goes below freezing here, and we only get ten inches of rain in a good year. The dry, heavy clay soil was so hard that in places I could not dig with my mattock (much less a shovel), and had to bring out my electric demolition hammer, fitted with a 3" flat tip, to chisel out the embankment! I decided to take my chances without having to arrange for a truckload of gravel.
Slow work, putting in the base course of block—level front to back and side to side, even with the block next to it, and following the chosen line for the wall. The blocks have a lip on the bottom (at the back of the block), that keeps the pressure of the soil from pushing it off the block underneath, and provides the proper set-back for each course going up. After the first course is in place, it's just a matter of setting the blocks on top of the ones beneath. Assuming the base course was level and even, every course above it will be the same. Backfill as the wall goes up, compacting the soil (clay crumbles).

After going through my initial two pallets of block, I started to bring home between six and ten of the 54-pound blocks every time I went to Home Depot. This way, I didn't have to build the whole thing in one go (thankfully!).

I started on November 20, and finished Phase One of "The Wall" on April 7, 2014.

Six courses, six-inch high blocks, with the base block buried half below ground level.


Eventually I will extend the wall out in the back yard to form a planting bed for my blueberry bushes (which are now in big pots). I'll have to get a truck-load of topsoil to fill that walled area, because the ground is too hard and doesn't drain there. (I started digging holes for the blueberry bushes, and filled the holes with water to soften to soil for easier digging, but found the water still in the hole the next day!)
No comments:
Post a Comment