Here is what the old windows looked like from the outside. As my brother noted, corner windows were popular in a certain era out here in Southern California, but in any case, I needed the windows to be in the center of the room for my new kitchen. I removed the smaller corner window during early work on the new front door, and filled up that hole. The new work dealt with the big, front-facing window.

To start, I removed the drywall and insulation from around the old window and where the new window would be, then removed as much of the superfluous framing as I could (without having the wall collapse!).

The afternoon before the big day, I removed the thick masonite shingles and the heavy white trim boards from the outside of the wall.

Then, first thing in the morning, I removed the window. Just a few nails held the flimsy aluminum frame to the wall.
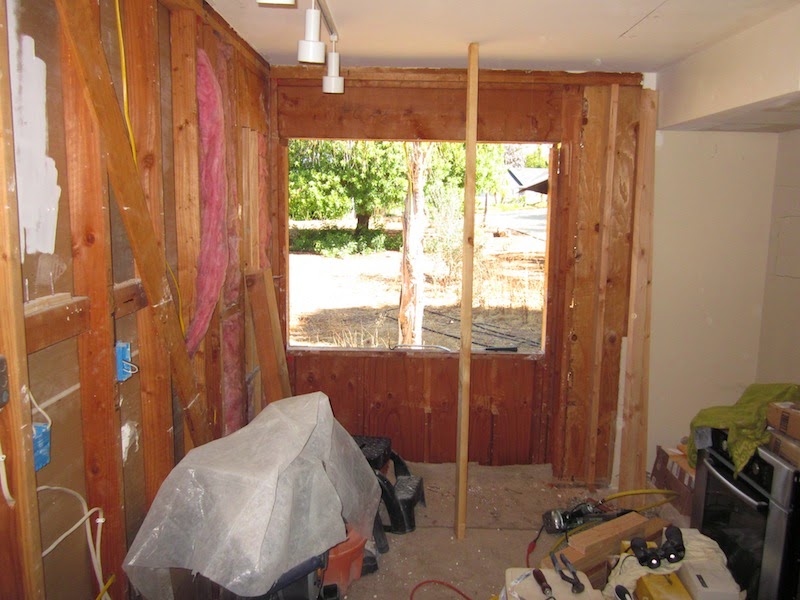

I could then remove the framing for the old window, including the substantial header (the large beam that spanned across the top of the window, supporting the roof). I had cut all the new framing pieces the day before (including a new header), so I used my pneumatic nail gun to fasten those in place.

I still needed to cover the part of the wall with sheathing where the old window had been. I discovered the old sheathing was only 3/8" thick, and I had only 1/2" sheathing (plywood), so I had to replace the thinner plywood everywhere the new windows would be fastened, so they would be going on a flat surface. The difference in thickness would not matter elsewhere, because I will be covering the wall with stucco (later) which will accommodate any irregularities. Then I installed the window (the easy part of the whole job), after apply some sticky rubber flashing.

I got the shingles back on before the end of the day. The shingles will be temporary; the stucco will go on after I have replaced all the windows on the front of the house (not before fall/winter).

Inside, the next day, I added insulation and drywall.


The new kitchen is the most complex project in the renovation. Expect to see many more postings documenting work on the new kitchen before it's finally done. Sigh.
No comments:
Post a Comment