Every place I've ever lived has been designed for that "average American family," with lots of bedrooms, living room, dining room, family room, etc. The problem was that I was a single person, not an average family. I needed space, but for hobbies, not people. And because I'm over 6'2", bending over to use sinks designed for children was a constant frustration. Over the years, I collected a list of things I would change if I could have my dream house. As I approached retirement, I realized time was running out for that house; it was now or never.


Dreams are not always perfect, however. I could never afford my dream house, a spacious Southern California home overlooking the Pacific Ocean. But I could afford a modest ranch house, with a 20-mile drive to the beach. It was a very long way from perfect, but it had potential.


This blog documents the process of turning that small average house into something that matches my lifestyle. It will be as close to my dream house as I can make it. I'm doing all the work myself to stretch my resources. By not hiring contractors, I can afford high quality materials, and I'll know the job is always done right. The remodeling will be my primary avocation for a few years, even as I try to fit in my writing and other hobbies.


It promises to be an interesting journey, and a challenging one!

Sunday, February 22, 2015

The Washing Machine Makes a Move

When I began work on the new laundry room in earnest, tearing out the old copper water supply lines and digging up the old drain pipes (all in a wall being removed), the washing machine had to go.  Since I wanted very much to continue using it, it had to go someplace with a drain and with a hot and cold water supply.  I had just finished putting in the new drain pipes in what would be the new master bathroom, so that is where the washing machine would go—sitting in the middle of the shower.  I added about 30" of vertical 2" ABS pipe to the shower drain stub (no glue), and ran temporary hot and cold PEX supply lines to that location.  Then I built a dolly to wheel the washer in; it's been there since last August.  (I'll now be able to continue work on that bathroom.)


Here is another look at the new floor plan for the house.  I disconnected the washer and wheeled it out of the new master bathroom-to-be, down the hall, and into the new laundry.  That was the easy part.


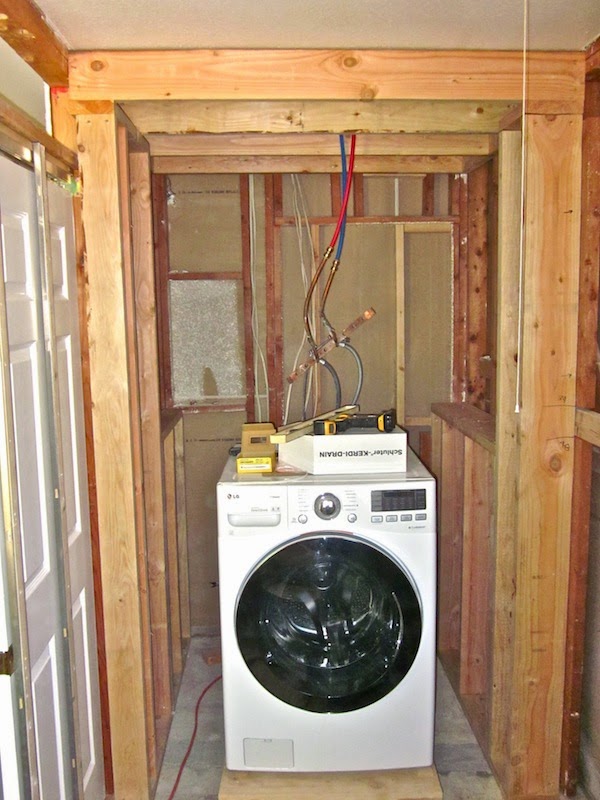
The raised platform makes the washer and dryer much easier to use, but getting them up there by myself was less than straightforward.  While the dryer was light enough to push up a makeshift ramp, the washer is much heavier.  I bought a couple of 8-foot 4"x4" posts and cut them into six 32" pieces, and added those to some other wood I had, with the idea of building a crib (not the baby kind) on top of the dolly to give the washer some altitude.  Then I lifted one side of the washer at a time, adding an inch-and-a-half each time, until the washer was even with the platform.  Then I inserted a piece of plywood and some cardboard, and carefully pulled and pushed until the washing machine was in place.  It took most of the morning.


I plugged it in, hooked up the hot and cold water and the drain line.  Sha-zam!  Did a load of laundry.  Fantastic!  (Cheap thrills!  I've been waiting a year-and-a-half for this.  Just wait until I get the master bathroom finished—or the kitchen!)

2 comments: